Lacuna Passage - Devlog #57 - Survival Stats Interface

We decided to do another video this month to show off some more improvements to the Datapad user interface. We now have a simple vitals screen that helps you visualize your current survival attributes like nutrition and hydration. It may look complex at first, but hopefully after watching the video you will see that we are trying to balance realism with readability. We also have an updated sleep timer screen that will allow you to reduce your exhaustion and move time forward more quickly. And if you stick around to the end of the video then you will see a few improvements we've made to the crafting screen.

Check out the video below and please let us know if you have any feedback for the features we are working on. We hope you are excited about the prospect of surviving on Mars!

Lacuna Passage - Devlog #56 - Crafting and Research Stations

As we work to implement more survival focused features into Lacuna Passage, we have been revisiting the elements of crafting in the game.  We have decided to incorporate dedicated “work stations” into the Habitat that the player will interact with depending on what it is they need to craft or research.  For instance, if the player would like to craft an emergency pop tent, they may first need to take something to salvage over to the workbench to break it down into materials.  Or they may need to use a 3D printer to create parts from scratch.  Here are some images of how the workbench and 3D printer look right now:

These workstations will be randomly generated in some (but not all) habitats the player discovers in survival mode.  Another objective we would like to include in the survival mode of Lacuna Passage involves the new research station.

This area would be utilized by collecting rock and mineral samples in order to better understand the geology and biology of Mars.  Although this goal would not directly affect your survival, we found that having multiple open-ended objectives is more enjoyable.

As we work to create many new and interesting areas in the habitat, we are always trying to utilize existing models and elements from other assets.  We reuse as many pieces as possible, like the computer monitor mount and work station tabletop.  Even the wall and outlets are recycled bits from other sections of the habitat.  It's important that we create these assets in ways that would allow us to reuse them in the future.  For example, the microscope pictured above was one of the very first internal habitat assets we created, but we have a variant with an attached computer monitor and keyboard that we can use in other locations.

We have plenty of other ideas in mind for interactive workstations, and we hope to have even more to show next month.  Let us know what you think in the comments.

Lacuna Passage - Devlog #55 - User Interface Updates

I just posted a new devlog video covering some of our new Datapad features including our work-in-progress Inventory and.... Crafting features! That's right. We have been kinda cagey on the whole crafting thing, but we think we have finally figured out a way to do it that fits the context of the game. That being said, the devlog video is very very rough. A lot of stuff doesn't look quite right yet with the Datapad UI and things bug out a little even during the short video. I almost didn't want to share it with everyone until it was looking better, but you guys deserve to know what we are spending our time on, even if it doesn't look great or have all the kinks worked out yet. All we ask is that you don't use these videos as a measuring stick for the quality of the final game. Don't share videos like this one to convince your friends how cool the game will be. It'll get better... I promise :)

So here it is. Let us know what you think!

TIMEframe - Featured in Multiplicidade Festival, Rio de Janeiro, Brazil

Thanks to our friends at Gamesquare, TIMEframe was featured in a live music performance by Astromash for the Festival Multiplicidade audience in August of 2015. Unfortunately we were not able to make the trip down to Rio de Janeiro ourselves, but the pictures of the show look great! We also have a little video clip for you to check out.

Lacuna Passage - Devlog #54 - Random Hab Modules

With our sandbox survival mode for Lacuna Passage in the works, we knew we needed to make some changes to the habitat modules.  There will be a few established habitats randomly placed for players to discover and utilize to survive as long as possible.  These habitats will all be unique and full of specialized modules that serve different purposes.  Bunks for sleeping and storage for food and supplies will be available in each hab, but things like research stations, 3D printers, and crafting areas will be randomized features in only some of the habitats you find.

In order to make the habitat capable of this level of randomization, we had to revise the way the hab is set up.  Now each component in the hab takes up an exact gridspace that can be randomly assigned in almost any part of the inner structure.  Here are a couple examples of how things may look with randomly swapped modules:

This is also the first time we have really shown off how the new Unity 5 standard shader makes our internal areas look.  We are very happy with how simple and consistent this shader performs with all of our materials even though we have not finalized the lighting yet.  Here are some more interior screenshots with placeholder lighting:

You may notice a new workstation in those last couple screenshots that we are currently working on.  This will have a few different functions, but in this example it serves as a station for testing soil and rock samples.

We also managed to give some of the panels that fill the extra space in the hab a rework.  They previously seemed a little too extruded and they interfered with the flow and interactive elements of the hab.  Now they seem a little more streamlined and less intrusive.

Progress is definitely coming along, and we hope to show you more next month regarding some of the new areas in the habitat where you will be crafting supplies to help you survive.

Lacuna Passage - Devlog #53 - Adjusting for Rendering Differences, Updating the Datapad, and Ludum Dare 33

Rendering Differences Between Color Modes

In our last few devlogs we have featured some updates to our art pipeline that have come with the transition to Unity 5's Standard Shader. In making this transition we have changed Unity's color mode from Gamma to Linear. This is a fairly technical aspect of rendering in a game engine, but I'll do my best to walk through our process (and problem solving). You can see the difference between the different color modes below.

Gamma Mode

Gamma Mode

Linear Mode

Linear Mode

You will notice that Linear color mode has much tighter highlights and generally makes metal materials look much more natural. The math behind it is all quite complex, but thankfully Unity takes care of it for us with a simple checkbox setting. We demonstrated how this new rendering mode looks a few weeks ago with our new Bridge environment assets.

Looks great, right? Well, unfortunately we were soon met with a few complications while trying to incorporate this new Linear color mode into our full project. Let's look at one specific example. Below you will see how this new color mode affected our fog blending with the skybox. (You can click to enlarge all images).

Our Mars time-of-day system was originally designed with Unity Gamma color mode. This is the exact start moment of "Dawn" in our old system where no color lerping (blending/gradation) is happening.

In this example we have switched to Linear color mode. You can see that the fog color is still blended properly with the background skybox, but that is to be expected since no lerping is happening at this moment.

Back in Gamma mode our time-of-day progresses from "Dawn" to "Midday" smoothing with a color lerp that is precise to match the blended skybox in the background. Looking good!

Now we can start to see the issue in Linear mode (you may need to click the image to enlarge it). The color lerp for the fog is no longer matched perfectly to the background skybox (notice the hard line at the horizon). Nothing else has changed from the previous screenshot other than the color mode. You can see problems with the sun shafts and lens flare as well; however, those are less of an issue because they can be tuned appropriately to compensate. The fog color lerp cannot be compensated. The start and end colors of the lerp are correct (see the Dawn example), but the colors in between are incorrect.

This simple problem caused us a huge headache. The beginning and ending points of our time-of-day transitions still matched the skybox perfectly, but every point in between was too dark and made our horizon line stick out like a sore thumb. So what was going on in Linear mode that was different from Gamma mode?

We had no idea. After scouring the web I came up empty handed. So I ended up resorting to posting for help on the /r/Unity3D subreddit. Lo and behold we were presented with a potential solution in less than an afternoon. And surprisingly, the solution came from real-world light physics and not from a Unity-specific error. As it turns out, Linear mode in Unity does not properly calculate the blending of two colors, but we can do that ourselves if we apply math! The video below led us to our final equation.

Mathf.Sqrt( Mathf.Pow(color1.r, 2) * (1.0f - t) + Mathf.Pow(color2.r, 2) * t )

This equation can be applied to our fog instead of using a Lerp. This transitions from color1 to color2 where t is the decimal percent of transition (just like t in a normal Lerp). We have to do this for each channel (r, g, b, and a) and use those values to build a new Color that reflects the proper values in Linear mode.

Now our fog blends perfectly with our skybox once again. There were a few other issues that we had to overcome in the transition to Linear mode, but we have finally gotten to a point where we are happy with the result. Due to the improvements with the Standard Shader in Linear mode, we think the game looks better than ever.

Updating the Datapad

We have also been working on updating the Datapad with the new Unity GUI features. Before we were using a plugin called NGUI, but this was becoming difficult to manage and we wanted to transition to using as many built-in Unity features as possible. One of the benefits of this new system is that it can automatically map the navigations between buttons.

You can see that we are making some general design changes to the Datapad as well, but we will have more details about that in a later devlog. Beyond that, we have made improvements to the shader for the Datapad screen so that colors appear more accurate to what you would see on an LCD screen. Before, the entire screen was illuminated equally, which led to blown out bright colors and washed out dark colors (shown below).

Old Datapad screen shader

Now we have a new shader for the screen that illuminates the brighter colors with more vibrancy while still preserving the dark colors.

New Datapad screen shader

Ludum Dare 33 - "The Monster Inside"

It was a pretty busy month, but our artist Spencer did manage to break away for a four day weekend vacation. So during that weekend I decided to participate in another Ludum Dare game jam without him. This time the theme was "You Are The Monster". The result was a collaboration with our composer, Clark Aboud, and a new contributing artist named Doug Auerbach.

We created a short audio-visual novella called "The Monster Inside". It is a text based game that explores a fantasy-infused film noir world. It covers some adult themes, so player-be-warned, but you can play it directly in your browser or download it from our Itch.io page below. Check it out and let us know what you think!

Thanks for following our devlog and we will be back soon with more art updates in a couple weeks!

Lacuna Passage - Devlog #52.5 - Lightmapping with Emission in Unity 5

Light mapping is a technique where you can bake the light from a scene into objects so that they self-illuminate based on a generated lightmap texture that usually is mapped to a second UV channel. This is a great solution to reduce the number of light calculations needed on static objects. But what if you have an object in the scene that needs to appear as if it is projecting light and casting shadows on other objects - and you also want to control the color and intensity of the light ingame? Well that’s where emissive lighting comes in handy.

Emissive lighting is typically used to self-illuminate objects in a scene and make them appear as the light source. A texture specifies the areas of the object that you want to emit light and global Illumination bounces this light onto other objects in the scene. Below is an example of a typical emissive object with global illumination affecting the scene around it.

But when you want precise shadows and lighting that matches the emission produced you need to get a little more complex. Baking the light casted from the emission source in your modeling software can achieve this effect with only a little extra effort. So, in effect, we want to produce our own lightmapping outside of Unity and apply it to the emissive channel in our Unity material.

First things first, we need to get a demo scene started in our modeling software. I’m going to be using 3ds Max along with the Mental Ray renderer. Below is the basic scene in 3ds max (top) and our desired look using a spotlight in Unity (bottom).

The hemisphere in the corner is the lamp of our scene and its bulb will illuminate our objects. To emulate this lighting in 3ds Max we need to place a light source in the center of the bulb. I used a Photometric Free Light and set the shadows to “Ray Traced” and the emit shape to “Sphere.”

Because I am using Photometric lights, I made sure my scene units match that of real-world objects. In this case I used 4 cm for the lamp bulb and made the radius of the emit shape also 4 cm.

After tweaking some of the light and shadow settings, I made a new Arch & Design material to place on our objects. In the diffuse color map slot I placed my diffuse map.  In the glossiness map slot under the reflection rollout I placed my gloss map. I made sure the diffuse and reflection colors are set to pure white, and the reflectivity is set to 1.0. I also checked the “Highlights+FG only” option because bounced light will be taken care of by global illumination in Unity.

Finally, I added a Normal Bump under the Special Maps rollout with the normal map of our projected high poly (Make sure you flip the green channel). After a couple quick render tests I decided to increase the gloss output to 2.0 to make the highlights tighter.

Now that we have our light and materials setup, we just need to render the light to a texture map. To do this, we open the Render to Texture dialog (Rendering > Render to Texture…). With our all our objects attached into one mesh we can easily render the entire texture at once. With our single object selected we can set our render to texture properties accordingly.

Scroll down to the Output rollout and add a “CompleteMap.” Complete maps incorporate all light information including normal, gloss, and diffuse maps into our bake. Set the texture size and save location accordingly and make sure “Shadows” is checked. Then hit “Render.”

Once the render is complete, decide if you need to increase the quality of the shadows before going to Photoshop to tweak any errors. You can do that by going to Rendering > Render Setup and opening the “Renderer” tab. Here you can tweak things like light sampling and noise thresholds. You could also go back to your light source and tweak its settings.

The end result is a custom emission map that reflects the lighting in your 3ds Max scene:

Then you just bring all your assets and textures into Unity and plug them into the Standard shader (I used the specular version). Here’s a quick video of how the emission lighting method compares to a spotlight within Unity:

In the example at the end of the video you can see some of the benefits of this method. Instead of lightmapping the entire hallway we can simulate lightmapping on a single asset that looks reasonably good even when duplicated in several places around the scene. This works particularly well when the light source is attached to the object that you want to have simulated direct lighting. The lighting never needs to be rebuilt and the resolution of the emission map can be scaled smaller than your other texture maps if needed. The emissive properties can also be easily changed at runtime to create effects like flickering or colored lights. The emission coming from our transmissive plastic also contributes to the scene's lighting via Unity's precomputed realtime Global Illumination.

Lacuna Passage - Devlog #52 - The Bridge Art Progress 3

The Bridge is complete and fully integrated with Unity 5. We have been working hard to update our assets to the new Unity standard shader, and we really think it has paid off. Our workflow is more streamlined than ever with the use of physically based rendering (PBR) and real-world material properties. We have always utilized the Quixel Suite to tweak our normal maps and create base textures, but only recently were we able to make use of Quixel’s built in PBR map generation thanks to this new shader in Unity 5.

We start by creating a base model and high poly for normal mapping. Then we transition to Quixel’s nDo for normal map tweaking. This allows us to make normal map changes within Photoshop using custom shapes and selections.

Once we have our normal map complete, we create a color map, or ID map, that separates the different material sections for our final textures. Quixel has a color swatch dedicated to each of their base materials, so we simply find the material we want using our own custom material previewer in Unity and apply the proper swatch to that area of the color map.

Next is where the magic happens. Quixel's dDo then takes all the information from our normal map and color map to generate base diffuse, specular, and gloss maps accurate to their real-world counterparts.

From there we simply tweak the maps to suit our needs and place the assets into Unity. The end result is a scene with physically accurate materials made to react with light as they would in the real world. Here is a comparison of the importance texturing and lighting brings to a scene:

But, just showing off screenshots doesn't fully capture the look and feel of walking through the Bridge, so this time we decided a video walkthrough would be appropriate. Here’s a quick look at the Bridge of Foundation Base:

If you're wondering what the Bridge will look like from the exterior, check out the last art devlog post here.

Lacuna Passage - Devlog #51 - Keeping up with the times (Unity 5 and Steam Early Access)

Since this is our first true non art-related development update since TIMEframe was released, I felt it fitting to reveal some pretty big news. Most immediately important is that we are updating Lacuna Passage to Unity 5. Some of you following us from the very beginning might remember that the original prototype of Lacuna Passage actually started in Unity 3. We moved to Unity 4 to take advantage of some of its new features, and we’re doing it again with the switch to Unity 5.

So how will the game benefit from the upgrade? If you are a developer, or just really interested in the nitty-gritty details, you can check out the full Unity change list here. Many of the updates made to the engine we will benefit from passively without any additional work on our part. These include things like multi-threading performance improvements, loading improvements, physics calculation improvements, a 64 bit editor (finally!), and much much more. We are already impressed with how well the game is running in Unity 5 and how quick it was to upgrade.

Making progress on our material previewer with Unity 5's new physically-based rendering

Making progress on our material previewer with Unity 5's new physically-based rendering

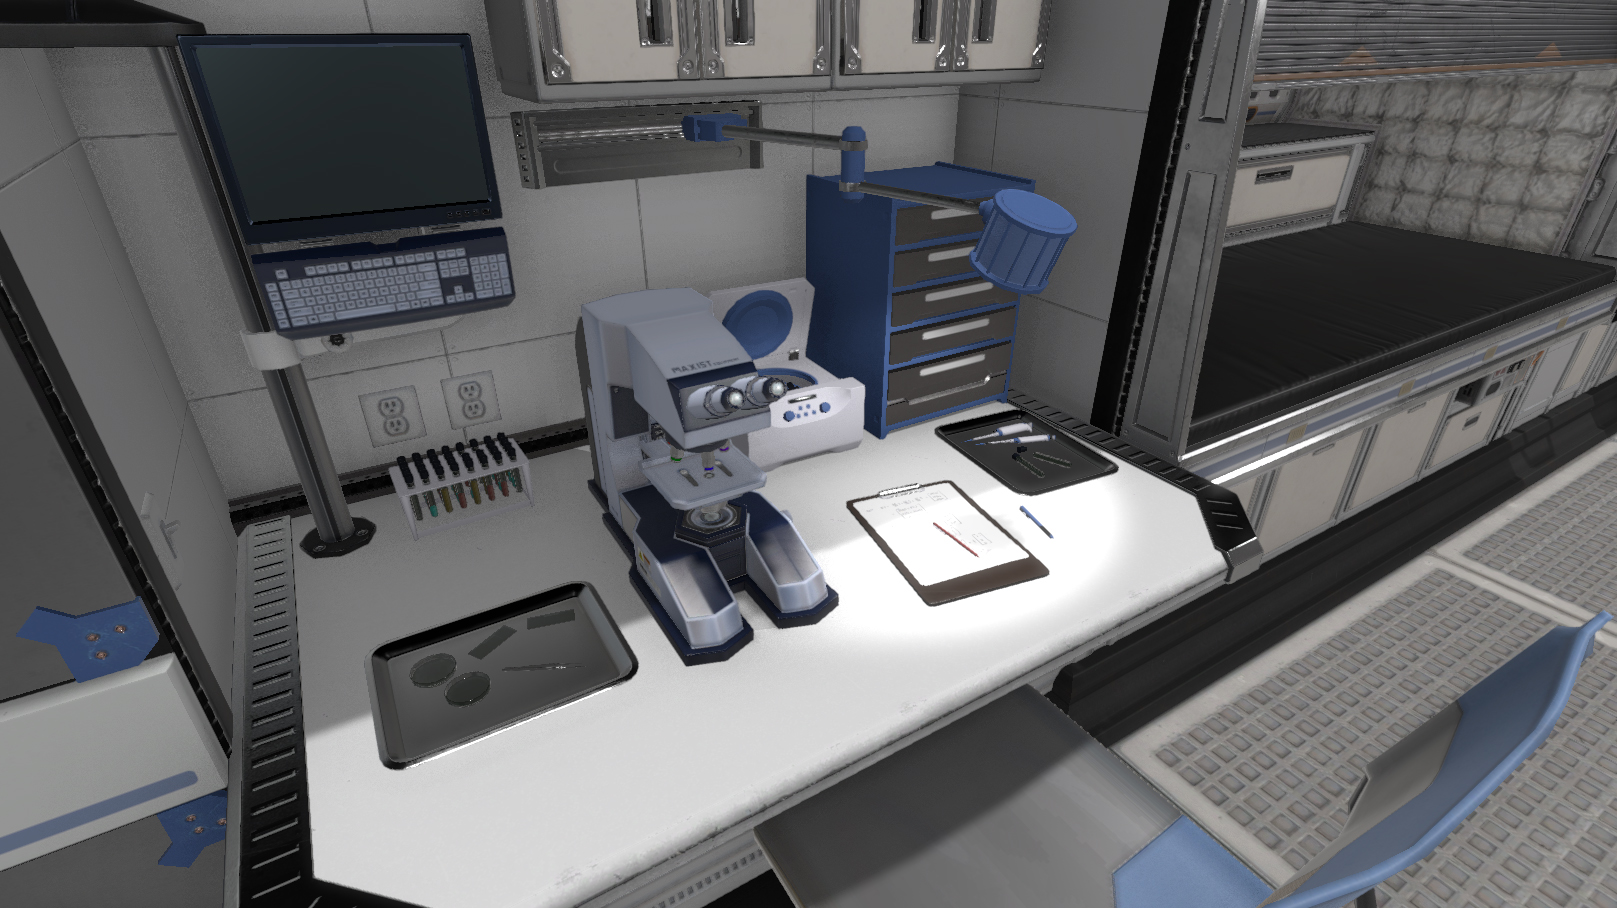
However, the most exciting change for us will be switching to Unity’s new physically based rendering model. Since the beginning of Lacuna Passage we have been utilizing our own shaders which were designed with Shader Forge. Now, with the introduction of the new Standard Shader in Unity 5 we will be able to simplify our art pipeline while also drastically improving the rendering quality of the final game. Before, where we were using custom shaders, it was very difficult to get our texture previews in our art applications to match the way that the textures would be displayed in-engine after being imported. This meant hours of tweaking, re-importing, and fiddling with settings until we were satisfied with the result. We were trying to manually approximate real-world materials like aluminum, steel, and plastic. But with the new physically based rendering system we can simply select real-world material presets as a starting point and see exactly how the textures will be rendered before we even import them into the game. It will take some time to adjust to the new art workflow using the new versions of industry standard applications like Quixel’s DDO, but we are confident that it will have a huge affect on our development efficiency and quality over the long haul.

That being said, the move to Unity 5 is not the only big development change that we are currently undergoing. Since our Kickstarter campaign we have kept a close eye on Steam’s new “Early Access” sales model. This option allows developers to sell access to games that are still in active development. We never really considered that Lacuna Passage would be a good fit for this option, since our plan for the game was heavily driven by a narrative experience. It’s difficult to sell people early access to a game with a story if the story isn’t fully implemented yet. We didn’t want people to run into half completed story lines, or story lines that might change completely before the game was finished. Over the last few months we have been watching other Early Access games like The Long Dark very closely, and we think we may be able to adopt their approach.

Taking inspiration from other sandbox survival games like The Long Dark

Taking inspiration from other sandbox survival games like The Long Dark

Now, before I explain further, I want to make it clear that this should not be cause for alarm. We would never consider Early Access purely as a way to squeeze money out of the game before it is finished. We simply feel that we have failed our backers in the sense that we have already far overshot our original release estimate, so we wanted to investigate any option we could that would allow people to play the game sooner rather than later. Our consideration of Early Access is a compromise. A way to let people see some parts of the game sooner while we finish all the features we originally promised.

So, what would an Early Access version of Lacuna Passage look like? The example I gave earlier of a game called The Long Dark is something we are looking to model after. The Long Dark is a post-apocalyptic survival game which will eventually have a story mode. In Early Access they are focused almost entirely on the root survival mechanics of the game and art development. We think that this could work well for Lacuna Passage. Our thought right now is that we will put all story development on hold in an attempt to put out a sandbox survival mode on Steam Early Access. We don’t have a date for when that will be, but the important thing is that you will get to play Lacuna Passage sooner and be part of an active community contributing to the development of the final game.

Players of The Long Dark will find familiar systems in a future Early Access version of Lacuna Passage

Players of The Long Dark will find familiar systems in a future Early Access version of Lacuna Passage

We may have originally underestimated the power of a purely survival-driven game mode. After playing games like The Long Dark we feel that a survival sandbox could stand on its own and enable us to make better design decisions for the final game based on the feedback that our backers and Early Access players will provide. Obviously there are still a lot of things we will need to work out before this happens, but we want to be completely transparent with all aspects of development. In the coming months we will outline our plans for what you can expect to see in an Early Access release. We want to hear your thoughts and suggestions as well. If this is something that our backers overwhelmingly disagree with then we will seriously reconsider, but we think it will be a win-win for everyone. Thanks for reading, and we will have more details soon.

Lacuna Passage - Devlog #50 - The Bridge Art Progress 2

The next large asset for Foundation Base is nearly complete. The Bridge, or the pressurized walkway, is a large raised platform that spans between all other structures at Foundation Base.  There is also a dock for access to the Pressurized Roving Transport, or PRT. Here are some screenshots of the final look for the exterior of the Bridge:

You will notice that the same translucent canvas from the Greenhouse also surrounds the Bridge.  It is designed to be a durable, flexible, and repairable material that reflects harmful UV rays and holds pressure.  The modular design is suitable for any terrain or elevation variance between the other structures.

In the next week or so we plan on tidying up the interior elements of the Bridge. We are also starting to experiment with an upgrade from Unity 4.6 to 5.1. This would be a big change for us, so hopefully by our next devlog we should have an answer as to how feasible it would be for us to transition.